
Potting Media & Containers: Building the Perfect Home
Potting Media & Containers: Building the Perfect Home
The foundation of successful Adenium cultivation rests literally at the roots—in the potting media and container you choose. Get this right, and most other challenges become manageable. Get it wrong, and even perfect watering and lighting won’t save your plants from slow decline or sudden rot. After 35 years working with challenging plants in less-than-ideal climates, I can tell you that substrate is where most beginners either set themselves up for success or guarantee themselves frustration.
Essential Characteristics: Drainage, Aeration, and Moisture Retention
Adeniums evolved in environments where intense rainfall is followed by extended dry periods. Their roots expect rapid water penetration, thorough saturation, then quick drainage with excellent air circulation as the medium dries. Standard potting soil—designed for temperate-climate plants that prefer consistent moisture—is fundamentally incompatible with these requirements, thus not compatible for Adenium.
Drainage is non-negotiable. Water must move through the medium in seconds, not minutes. When you water an Adenium, excess water should pour freely from drainage holes almost immediately. If water pools on the surface or takes more than a few seconds to penetrate, your medium is too dense. Poor drainage keeps roots in contact with water too long, creating anaerobic conditions where beneficial microbes die and pathogenic organisms thrive. Root rot follows inevitably.
Aeration works hand-in-hand with drainage. Adenium roots need oxygen access even when the medium is wet. This requires substantial pore space—the air gaps between particles. Coarse, chunky components create these spaces, while fine particles pack together eliminating them. Think of it this way: you want a medium that’s more “gravel” than “mud” in structure. Roots grow vigorously in well-aerated media, exploring throughout the container and developing the robust system needed for caudex expansion.
Moisture retention seems contradictory given the drainage requirements, but Adeniums still need water access between waterings. The key is retaining moisture within the particles rather than between them. Pumice, calcined clay, and similar components absorb water into their porous structure while maintaining air spaces between chunks. This gives roots access to moisture without sitting in soggy conditions. The balance between drainage and retention determines your watering frequency—faster-draining media requires more frequent watering but provides greater safety from overwatering mistakes.
Pot Selection: Size, Shape, and Material
Container choice dramatically impacts how your Adenium grows and how successfully you can manage its care.
Size considerations differ from typical houseplant guidance. Adeniums actually perform better when slightly root-bound, which encourages caudex development over excessive root growth. For seedlings, start with containers just 3-4 inches in diameter. Young plants (1-2 years) thrive in 4-6 inch pots, while mature specimens rarely need more than 8-10 inches unless you’re deliberately growing for maximum size.
The common advice to “pot up gradually” is particularly important for Adeniums. Oversized containers hold excessive moisture far from the root zone, creating conditions where rot can establish before you even notice watering issues. When you do repot, increase pot diameter by only 1-2 inches at a time. An Adenium that seems to have “stopped growing” in a too-large pot will resume vigorous growth once moved to an appropriately sized container.
Shape and depth matter more than many growers realize. Shallow, wide pots (azalea pots or bulb pans) work exceptionally well for Adeniums. These shapes provide adequate root space while minimizing the depth of medium that stays wet after watering. The wide surface area also promotes faster moisture evaporation and better air exchange at the soil surface. Standard “tall” pots can work but require extra attention to bottom drainage since that deep lower layer stays saturated longer.
For caudex development, wider containers encourage the spreading root plate that supports an impressive trunk base. Tall, narrow pots tend to produce deeper taproots rather than the lateral root spread that creates visual impact. (This is how the torpedo caudex is developed, but that is another discussion I will talk about another time.)
Material selection comes down to weighing practical factors for your specific situation. Terracotta and unglazed clay remain the gold standard for Adeniums because their porosity allows moisture and air exchange through pot walls, not just the drainage hole. In a cold climate with indoor winter growing, this breathability helps prevent the stagnant conditions that occur in heated indoor air.
Plastic pots are lighter, less expensive, and don’t wick moisture away as quickly—meaning less frequent watering. For outdoor summer growing when you might need to water daily, plastic reduces that burden. Many serious growers use clay for indoor growing and plastic for outdoor, switching containers seasonally along with the plants themselves. This adds to the labor, but reduces the potential for root rot.
Glazed ceramic pots function essentially like plastic from a moisture perspective, but their weight and aesthetic appeal make them popular for display specimens. Just understand that a glazed pot behaves like plastic, not like terracotta, regardless of its clay construction.
Regardless of material, drainage holes are absolutely mandatory. Decorative cache pots without drainage can display your Adeniums, but the actual growing pot inside must have generous drainage. Multiple large holes work better than several small ones.
DIY Adenium Mixes: Sample Recipes & Adjustments for Indoor/Outdoor
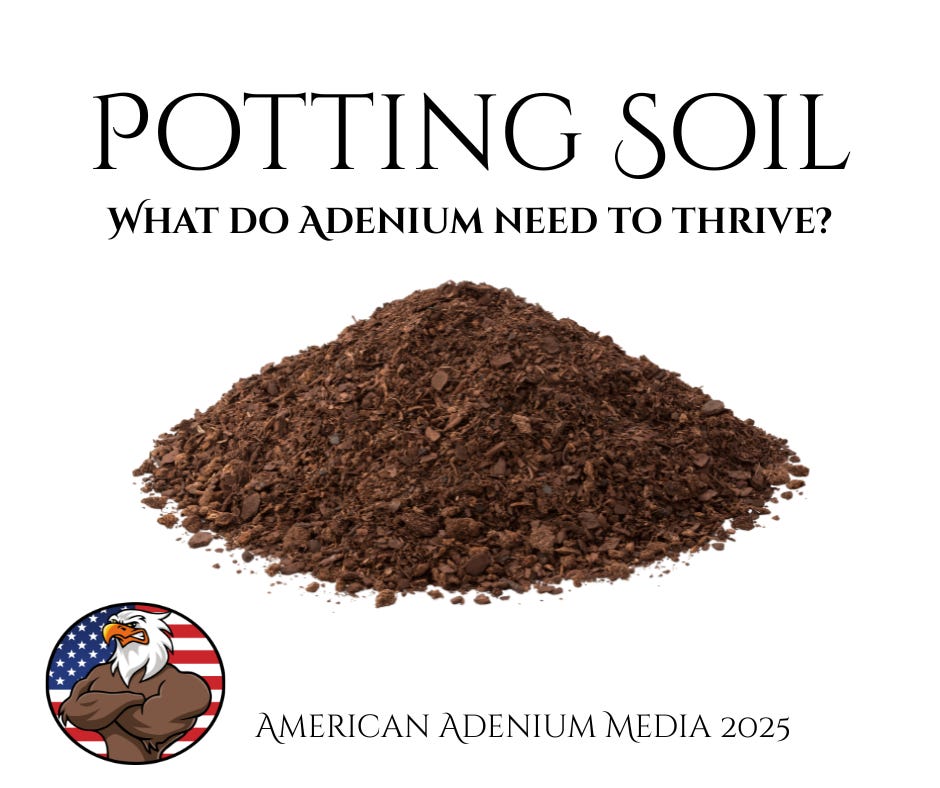
Commercial “cactus mix” is almost never suitable for Adeniums without significant amendment. Most commercial mixes still contain too much organic matter and retain moisture too long. Building your own mix isn’t complicated and gives you control over characteristics that pre-made products can’t match.
Basic All-Purpose Adenium Mix:
-
40% pumice (1/4” to 1/2” particle size)
-
30% calcined clay (Turface, OptiSorb, or similar products)
-
20% pine bark fines or coconut coir chips
-
10% coarse perlite or granite grit
This recipe provides excellent drainage while maintaining enough moisture retention for reasonable watering intervals. The organic component (bark or coir) holds some moisture and provides minimal nutrition as it breaks down slowly. The inorganic majority ensures the structure won’t compact over time.
Indoor Winter Mix (Slower Drying):
For indoor winter growing when plants are semi-dormant and you want extended watering intervals, increase moisture retention slightly:
-
35% pumice
-
25% calcined clay
-
25% pine bark or coir
-
15% perlite
The increased organic content holds moisture a bit longer between waterings, useful when you’re watering every 2-3 weeks rather than weekly.
Outdoor Summer Mix (Maximum Drainage):
For outdoor summer growing when plants are actively growing in heat and you can monitor daily:
-
50% pumice
-
30% calcined clay
-
10% pine bark
-
10% granite grit or coarse sand
This extremely fast-draining mix prevents waterlogging during summer thunderstorms while requiring frequent watering during hot, dry periods—which is fine because you’re checking plants daily anyway during active growth.
Budget-Conscious Alternative:
If sourcing specialized components is challenging, this simplified mix works adequately:
-
50% standard cactus mix (pre-made)
-
30% perlite
-
20% coarse sand or chicken grit
While not optimal, this dramatically improves drainage over straight potting soil at minimal cost using readily available materials.
Mix Amendments:
You can customize these base recipes with additions:
-
Horticultural charcoal (5-10%) helps prevent soil souring and absorbs impurities
-
Worm castings (5%) adds slow-release nutrition
-
Limestone chips (small amount) buffers pH in areas with acidic water
-
Mycorrhizal inoculant at potting time enhances nutrient uptake
Always wet your mix thoroughly before initial use, then let it drain completely. This pre-wetting ensures uniform moisture distribution and reveals any drainage issues before you commit a plant to the medium.
Repotting Tips for Different Growth Stages
Timing and technique for repotting vary based on plant maturity and your goals.
Seedlings (0-6 months) need gentle handling and minimal root disturbance. Transplant from germination containers to individual 3-inch pots once they develop 2-3 sets of true leaves, typically 6-8 weeks after germination. The key is maintaining the root ball intact—don’t bare-root young seedlings. Water lightly the day before repotting so roots hold together, then slide the entire root mass into the new container with fresh mix around it.
Young plants (6 months to 2 years) can handle more aggressive repotting and benefit from occasional root pruning to encourage caudex development. Repot annually in early spring as growth resumes. You can remove up to one-third of the root mass, focusing on cutting back long taproots and tangly fine roots while preserving the main lateral roots. This root pruning triggers the plant to thicken existing roots and the caudex rather than just extending roots outward.
Mature plants (2+ years) need repotting less frequently—every 2-3 years is sufficient unless they’ve completely filled the container. For established specimens, late winter repotting (February-March) works ideally, just before the spring growth flush. These plants tolerate substantial root disturbance and can be bare-rooted completely if you’re addressing root issues or want to examine the root structure.
Universal repotting guidelines apply regardless of plant age:
Never repot during active bloom—wait until the flowering cycle completes. Don’t water for 3-5 days before repotting; slightly dry roots are less fragile than fully hydrated ones. After repotting, wait 5-7 days before watering to allow any damaged roots to callus over, preventing rot. Place newly repotted plants in bright shade for a week before returning them to full sun exposure.
For caudex styling, repot into progressively shallower, wider containers while gradually exposing more of the upper root structure. Each repotting session, raise the plant slightly higher, leaving more roots above the soil line. This creates the dramatic exposed-root appearance prized in mature specimens.
The investment in proper media and containers pays dividends in plant health and reduced frustration. Quality substrate makes watering more forgiving, reduces disease pressure, and creates the foundation for vigorous growth and impressive caudex development. Take the time and do it right, then sit back and enjoy the results! If you should have questions or comments please contact me at contact@americanadenium.com .