
Planting & Transplanting Adenium
Planting & Transplanting Adenium
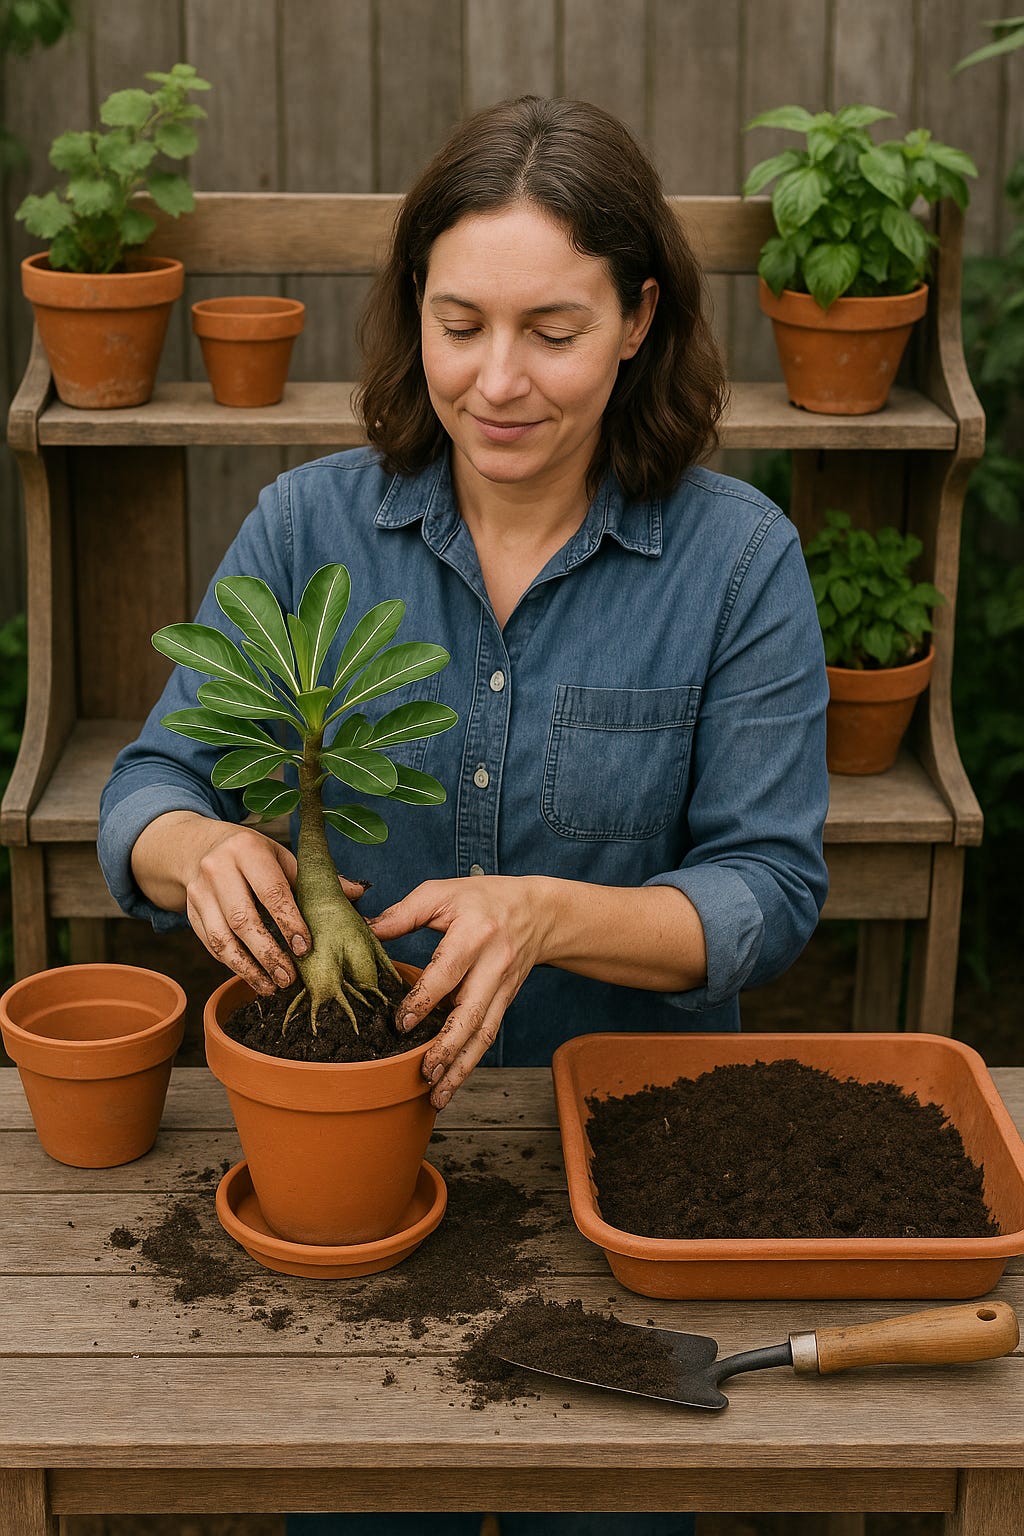
The actual process of getting Adeniums into containers—whether starting from seed, establishing cuttings, or moving established plants—requires more precision than typical houseplant procedures. These plants evolved in harsh environments where damaged roots mean death, not just setback. Understanding proper planting techniques prevents the losses that discourage beginners and ensures your plants establish quickly with minimal stress.
Step-by-Step: Sowing Seeds and Planting Cuttings
Seed Sowing Process
Adenium seeds germinate readily when given warmth, moisture, and proper medium. Start by preparing a well-draining germination mix—I use equal parts perlite and moistened coconut coir, though any mix that stays moist without becoming waterlogged works. Fill shallow containers or seed trays with 2-3 inches of this medium and moisten it thoroughly until water runs from drainage holes.
Soak your seeds in room-temperature water for up to 24 hours before planting. This rehydrates the seed coat and improves germination rates. Some growers add a drop of mild fungicide to the soaking water to prevent damping off, and I have used hydrogen peroxide which is quite effective.
Plant seeds horizontally, laying them flat on the surface rather than standing them upright. Press them gently into the medium until they’re about halfway covered—roughly 1/4 inch deep. Adenium seeds need some light exposure to germinate optimally, so avoid burying them completely. Space seeds at least 2 inches apart to allow air circulation and easier transplanting later.
Cover your container with clear plastic wrap or a humidity dome to maintain consistent moisture. Place it in a warm location—75-85°F is ideal. Seedling heat mats work well for maintaining this temperature range. Provide bright indirect light, not full sun, during germination.
Check daily for moisture and germination. Seeds typically sprout in 3-7 days under optimal conditions, though some may take up to two weeks. Vent the humidity cover once you see the first sprouts emerging to prevent fungal issues. At this point, gradually increase light intensity over several days until seedlings receive bright, direct light for most of the day.
Planting Rooted Cuttings
If you’re starting with rooted cuttings despite their limitations for caudex development, the process is straightforward. Prepare containers with your standard fast-draining Adenium mix. Make a hole slightly larger than the root mass using your finger or a dibber.
Insert the cutting so the rooted portion is buried but the callused stem base sits at or just above the soil line. Firm the medium around the roots to eliminate air pockets, but don’t compact it so hard that you damage roots or destroy the drainage structure. The cutting should stand upright without support—if it tips over, you haven’t firmed the medium adequately.
Wait 5-7 days before watering to allow any root damage from handling to heal. After this waiting period, water thoroughly and place the cutting in bright shade for a week before gradually moving it to full sun. This acclimation period prevents shock and encourages rapid establishment.
Transplanting Seedlings or Mature Plants
Moving Seedlings to Individual Containers
Seedlings are ready for transplanting when they develop their second or third set of true leaves, typically 6-10 weeks after germination. At this stage, they’ve established enough root structure to handle the move but aren’t so developed that transplanting becomes difficult.
Water seedlings lightly the day before transplanting so the medium holds together around roots. Prepare your individual containers—3-inch pots work well for first transplanting—with fresh, slightly moistened growing mix.
Use a spoon, knife, or wooden stick to carefully lift each seedling from below, scooping up the entire root ball with surrounding medium. Never pull seedlings by their stems. The goal is keeping the root ball intact with minimal disturbance. If roots have tangled together, gently tease them apart rather than ripping them free.
Place the seedling in its new container at the same depth it was growing previously. The transition from germination medium to growing mix is significant enough without adding the stress of burying the stem deeper or exposing roots that were previously covered. Fill around the root ball with growing mix, tapping the container to settle the medium and eliminate large air pockets.
Wait 2-3 days before watering transplanted seedlings. This waiting period seems counterintuitive but allows minor root damage to callus over before introducing moisture. When you do water, use a gentle stream to avoid washing away medium or disturbing the newly settled plant.
Repotting Established Plants
For plants being moved to larger containers or receiving fresh medium, timing matters significantly. Early spring, just as plants emerge from winter dormancy and before active growth begins, provides the ideal window. Plants have maximum energy reserves and healing capacity during this period, plus the entire growing season ahead to establish in fresh medium.
Begin by withholding water for 5-7 days before repotting. Slightly dry medium falls away from roots more easily, and dry roots are less brittle than fully hydrated ones. Remove the plant from its container by tipping it and sliding the root ball out. Avoid yanking on the stem or caudex—if the plant resists, run a knife around the inside edge of the pot or tap the container sides to loosen compacted roots.
Once removed, examine the root system carefully. Healthy roots are white to tan, firm, and numerous. Remove any dead, mushy, or diseased roots with clean, sharp pruners. For young plants where you’re encouraging caudex development, you can prune up to one-third of the total root mass, focusing on cutting back the central taproot and excessive fine feeder roots. This pruning redirects energy into thickening the caudex and major lateral roots.
If you’re styling the caudex by raising it progressively higher above the soil line, now is the time to arrange the root structure. Gently spread major roots outward in a radial pattern rather than allowing them to spiral or cross. This creates the dramatic surface root display characteristic of well-grown specimens.
Position the plant in its new container at the desired height—either at the same level as before or slightly higher if you’re exposing more caudex. Fill around the roots with fresh medium, working it carefully between root structures to eliminate air pockets without compacting the mix. Tap the container on your work surface several times to settle the medium naturally.
Handling Roots and Caudex Safely
The caudex and root structure represent years of growth that can be destroyed in moments of carelessness. Always support the caudex from below when handling plants, never by grasping the stem above. The connection between caudex and stem, while appearing thick and sturdy, can snap under twisting forces.
When examining or pruning roots, work on a clean surface and use sterilized tools. A solution of one-part bleach to nine-parts water works for sterilizing pruners between cuts. This prevents transmitting diseases from one root section to another or between plants.
Adenium roots are succulent and store water in their tissues, making them more brittle than typical fibrous roots. Handle them gently, supporting larger roots rather than allowing them to hang freely where their own weight might cause breaks. Small feeder roots will break during any repotting—this is inevitable and not concerning. Focus on protecting the major structural roots and the primary taproot if you’re preserving it.
The caudex surface itself is somewhat tender despite its woody appearance. Avoid gouging or scraping it with tools or container edges. Any wound on the caudex becomes a potential entry point for rot, especially if the plant is watered before the wound dries and calluses over.
For plants with exposed surface roots (styled specimens), protect these roots during handling. They’re more vulnerable than buried roots and can snap if bumped or bent excessively. Some growers temporarily support exposed roots with stakes during and immediately after repotting until the plant stabilizes in fresh medium.
Avoiding Common Mistakes
Root Damage from Excessive Handling
The most frequent mistake is treating Adenium roots like those of typical houseplants. Unnecessarily bare-rooting plants, excessive root washing, or aggressive root pruning on plants not ready for it causes setbacks that take months to overcome. Unless you’re addressing specific root problems or styling an established plant, minimize root disturbance. Seedlings especially should have their root balls kept as intact as possible during transplanting.
Poor Drainage Setup
Even perfect growing medium fails if water can’t exit the container. Ensure drainage holes are truly open and unobstructed. Some growers place a piece of plastic window screen over drainage holes to prevent medium from washing through while maintaining water flow. Never use rocks, gravel, or pottery shards in the bottom of containers—this “drainage layer” actually impedes water movement and creates a perched water table that keeps the root zone wetter than it should be.
Watering Too Soon After Planting
The temptation to water immediately after planting is powerful but destructive. Any handling, transplanting, or root pruning creates microscopic wounds on roots. Introducing moisture before these wounds seal invites rot-causing organisms directly into damaged tissue. The waiting period—3 days for seedlings, 5-7 days for established plants—feels wrong but is absolutely critical. Adeniums store sufficient water in their caudex to survive this dry period easily.
Incorrect Planting Depth
Burying the caudex too deeply encourages stem rot and prevents the caudex from developing its characteristic shape. Conversely, exposing roots prematurely—before they’ve thickened and developed protective bark—leaves them vulnerable to dessication and damage. For seedlings and young plants, keep the soil line at the point where the stem begins to swell into the caudex. As plants mature, you can progressively raise them during repotting sessions to expose more root structure.
Compacting the Growing Medium
In an attempt to firm plants securely, some growers compress the growing medium so firmly that they destroy its drainage and aeration properties. The medium should be settled enough that plants don’t wobble, but loose enough that water flows through immediately. Tapping the container and allowing medium to settle naturally works better than pressing down with your fingers.
Transplanting During Bloom or Active Growth
Moving plants during flowering diverts energy from blooms to root repair, often causing flower drop. Similarly, transplanting during peak growing season means interrupting the very growth you’re trying to encourage. Stick to late winter or very early spring repotting when plants are naturally preparing to put energy into new growth anyway.
Proper planting and transplanting techniques become intuitive with practice. Start with careful attention to these details, and within a few growing seasons you’ll develop the touch and timing that marks experienced growers. The investment in doing it right pays off in plants that establish quickly, grow vigorously, and develop into the impressive specimens that make Adenium cultivation so rewarding.